The process is mostly the same as for manually-aligned domes, but it is better to carve channel media from the servers that control them.
Scalable Display Manager, Leader server
•Run Scalable Display Manager as normal.
•Get all settings correct so the dome is mapped.
•In the Perspective menu, click ‘Override Frustums’ and add 5 degrees to all angles: up, down, left and right.
•Click ‘Update Calibration’.
Carving media in Delta, for each server
•Import Auto-alignment frustums, geometry and blends into DeltaGUI.
•Fisheye-map the Leader media properties in the Resource Editor > Screen Location tab.
•Disable auto-alignment geometry (and blends) in DeltaGUI (Preferences > Startup), to just leave the over-scanned frustum data in the channel definitions (it will look very wrong on the dome!)
•Record out the timeline on each server to a new folder per channel, at the required resolution and format (on the E:\ Movie Drive) as described above for any carving.
Reassemble carved media in DeltaGUI
Delete the fisheye media from the timeline (you may want to remove the original media as well, to save drive space).
Drag the newly-sliced carved media onto the timeline, then channel-map (Resource Editor > Screen Location tab) to match the frustums (separate eye channels, if 3D) as described here.
Re-enable ‘Use Autoalignment’ option in DeltaGUI (Preferences > Startup).
After subsequent realignments in Scalable
Next time you run Scalable, run as normal, but make sure that the ‘Override Frustum’ option remains ticked on the perspective page, and click ‘Update Calibration’ again to take into account the new camera location or projector movements (within the 10 degrees ‘padding’ that was added for overlap allowance).
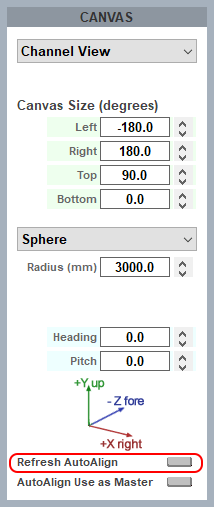
Refresh in DeltaGUI
In Display > Dome Mode, refresh the AutoAlign in the Canvas panel:
Page edited [d/m/y]: 30/07/2020