Select Scheduling from the top right menu to start creating what will become your live schedule. The timeline shows all the screens you have set up earlier with the servers. The Templates determine which Screens are used by each Media Asset.
Scheduling uses Templates as its building blocks, and can take into account Contracts and Categories to distribute items through all available time slots in the Live Schedule. |
There are two modes of scheduling: manual and automatic, normally used in combination:
•Manual scheduling means a Template is placed in a specific timeslot, and in as many places as required. It is up to you not to exceed any Contract. If the Template is Pooled, autoscheduling will use the remaining Contract when filling all the unallocated gaps in a day. Example: A Contract is for 10 plays, three manual placements are made and the autoscheduler reads the contract as 7 additional plays.
•Automatic scheduling selects Templates assigned as Pooled, and uses contractual weighting to distribute them proportionately within any time restrictions assigned in the Templates, around manually-scheduled Templates. If there are no Daylists and no manually scheduled Templates, the whole timeline will be filled by the autoscheduler.
To begin with you will see only the structure of an empty schedule (below), until the elements have been populated:
•Templates to associate Clients, Categories, Displays, Contracts and date/time play windows
•Daylists that are regular playlists to allocate to one or more days of the week, parts of days or specific dates.
•Daylist Schedules that create the rules for when each Daylist will play; any gaps in the Daylist may be filled manually or automatically scheduled by the system.
•the Calendar, which shows the scheduled Daylists and enables other Daylists to be manually scheduled in.
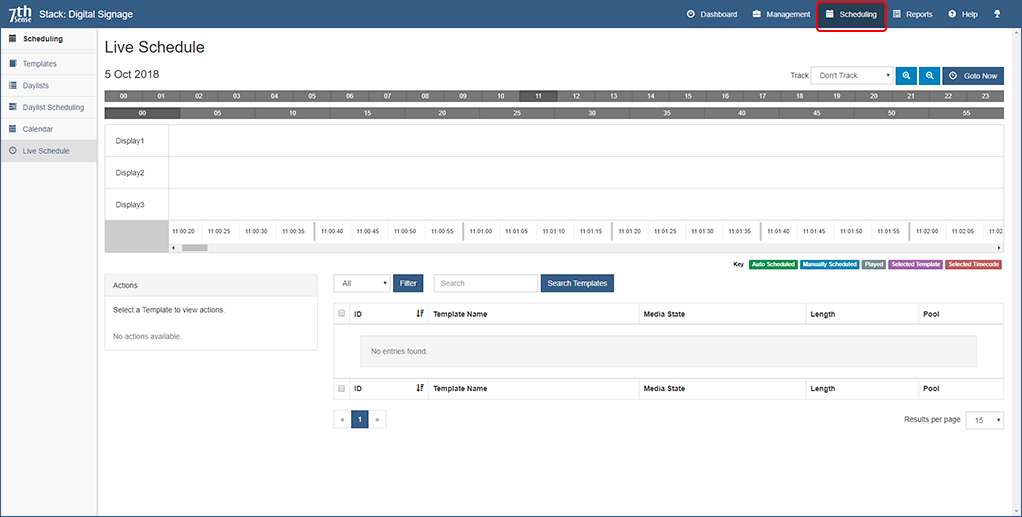
Timeline Navigation
The upper grey bar represents hours, the lower, minutes. Click on the hour you want to located, then the minutes, to bring that section of the timeline into view.
The scroll bar under the list of Screens allows you to track within the selected hour.
The Schedule Toolbar
![]()
Track
‘Don’t Track’ allows the current time cursor to move left to right and off the view, but allows you to scroll anywhere to manually schedule or remove Templates. Players are listed so you can choose to view and track particular players, which keeps the current time in centre view.
Zoom In / Out
Zooming allows you to contract or expand the timeline view.
Goto Now
This brings the current time and playhead cursor into centre view.