Select the Inputs menu to address the entire input canvas area that is being being taken and split from the Delta server GPU head.
|
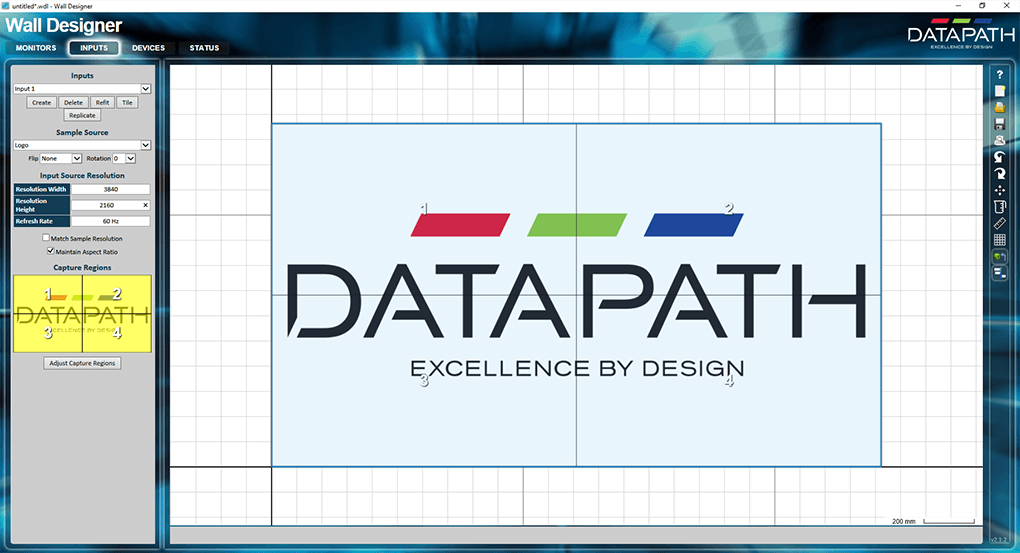
Inputs •Create and name a new input, e.g. reference the server and GPU head (channel). Click ‘Create’. You will only need one input to the Fx4. If you make any size adjustments to any panels, you can use ‘Refit’ to fit the panels into the media, or ‘Tile’ to fit all the media into the panels. ‘Replicate’ will place the source image into each channel. Sample Source •This is just an image to use in Wall Designer for setup. The Datapath Logo default may be good enough for setting up. Other defaults are listed, or use your own source with exactly the resolution and dimensions you need. Note the Flip and Rotation options are for the whole panel group. Input Source Resolution This is the resolution of the input from the Delta server GPU head (channel). Capture Regions This section addresses which part of the source media is displayed on each panel and the group as a whole. To manipulate any panel, click ‘Adjust Capture Regions’ and select the required panel. It should not be necessary to use this for an initial configuration, but does apply to actual installations. Here you set the origin for the placement of the input canvas on the arrangement of monitors, the overall dimensions, and can flip or rotate individual panels (see illustration below): |

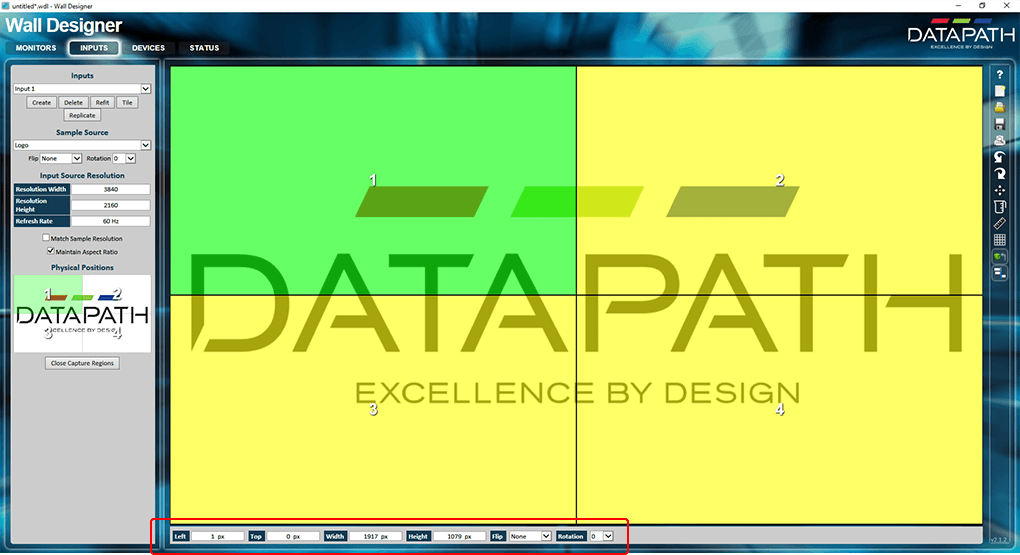
Close the capture regions when you have finished.
Your media should now be exactly where it should be, with channel edge alignment set in Delta, and bezel compensation managed within the channel by Wall Designer. We now need to connect these virtual panels to a real Datapath device.
Page edited [d/m/y]: 19/06/2018