The first thing to appreciate before you begin, is that a ‘Resource on a timeline’ is not moving any files anywhere. A Resource on a server’s timeline is merely a reference to a file or sequence of files on the server’s disks, with a set of instructions or parameters to say how the media will be played and displayed (how much, how fast, how long, when to start and stop, where, what colour etc.). |
Start DeltaServer and DeltaGUI. At this point, there are no resources on the timeline (assuming there was no default file set to load), and any resources found in the relevant folders are presented in the Resources Area on the left.
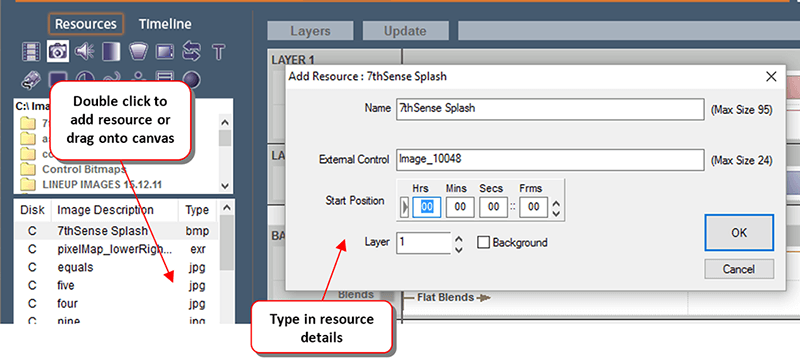
Select the media type (in the example below, Images), and double click the image you want to add to the timeline. The Add Resource dialog is displayed, so choose a name for this resource, which layer and where along the timeline you want it to be placed.
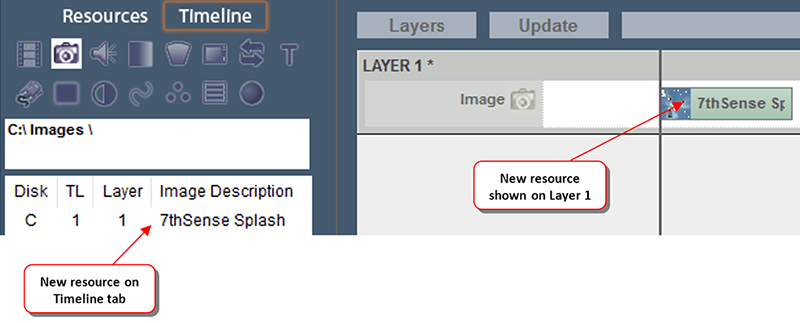
After pressing OK on the Add Resource dialog, Layer 1 is shown, and the Resource Area shows you the newly created resource on the Timeline.
Warnings
There are various warnings if there is a problem with a resource. A movie file may be encrypted and not match the playback licence (see Delta Content Protection System):
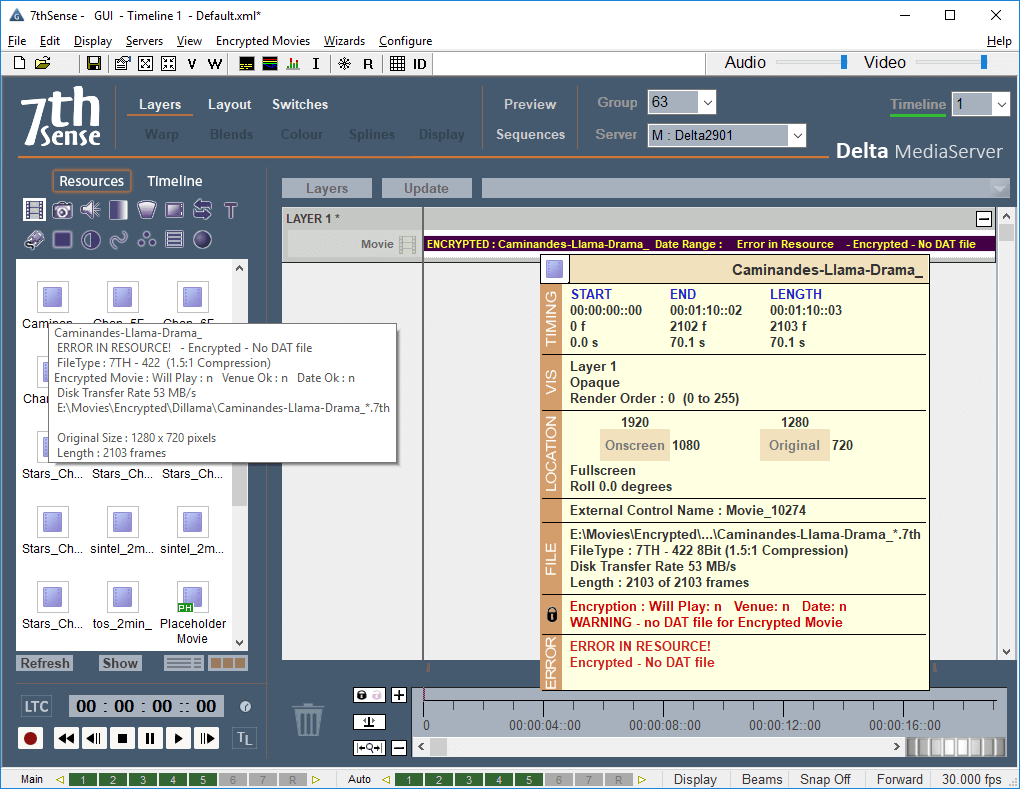
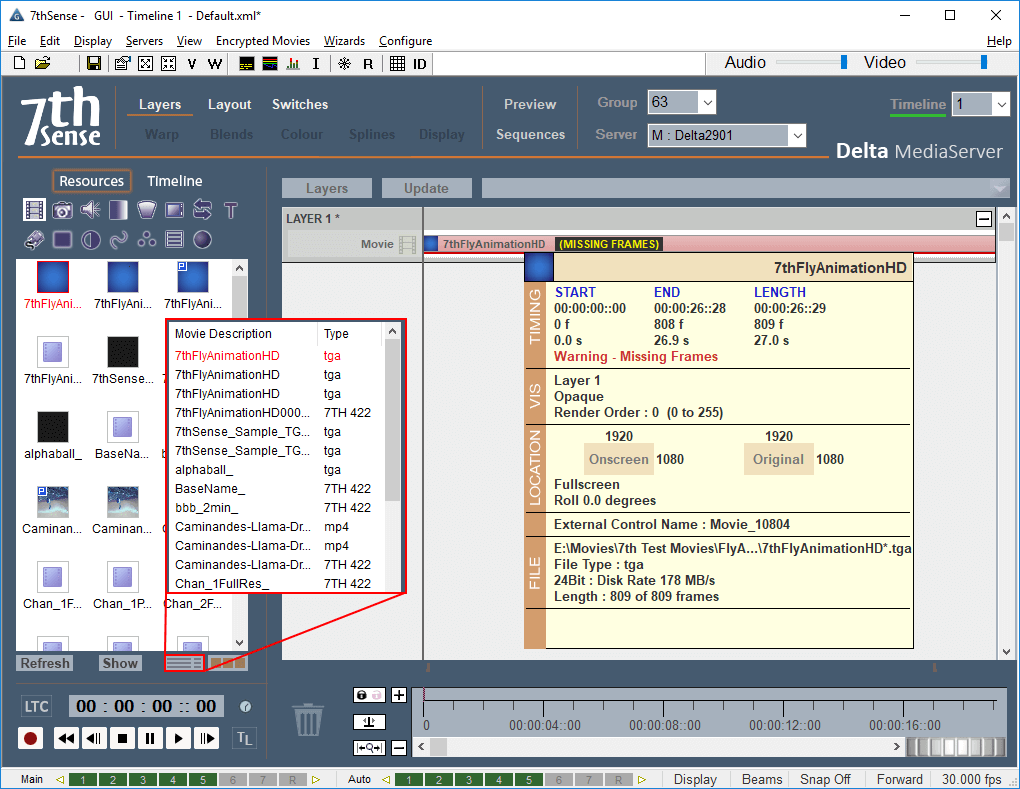
Errors can be seen in three places, in the timeline, by examining the timeline resource, or by hovering over the resource in the pool area.
Similarly, if there are missing frames in a movie (i.e. not in codec formats), this will be highlighted in the timeline resource properties, and in the resource pool the resource will have a red frame (or in list mode, the name will be in red type):